LIMNMEDIA - Setting the rails
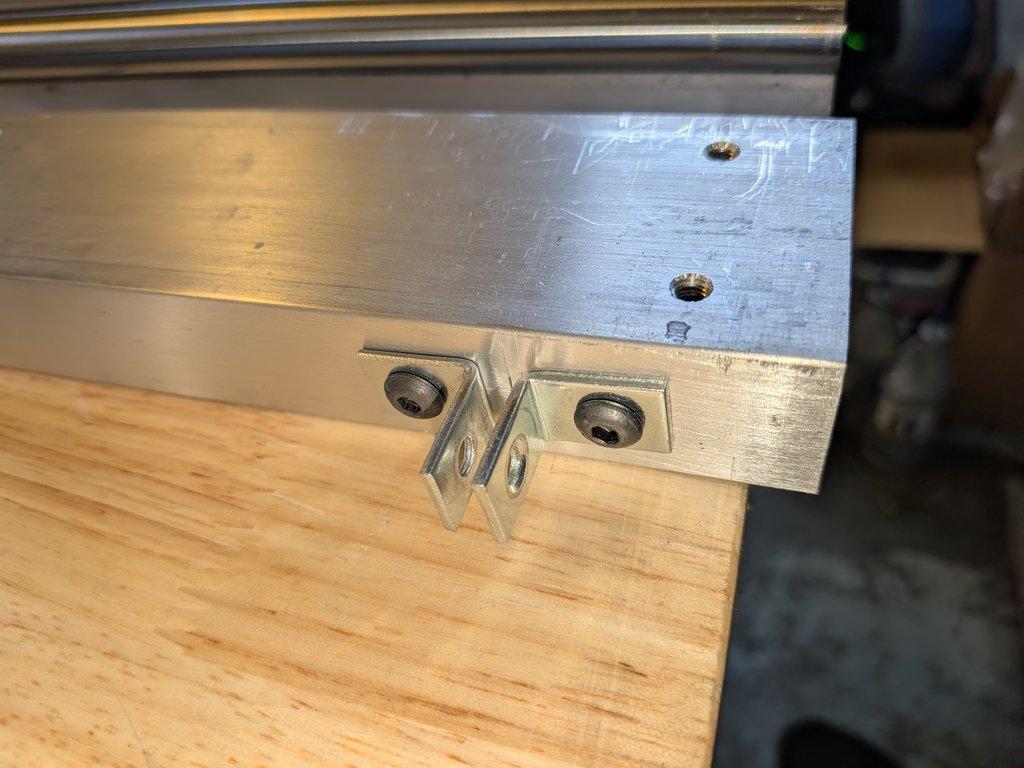
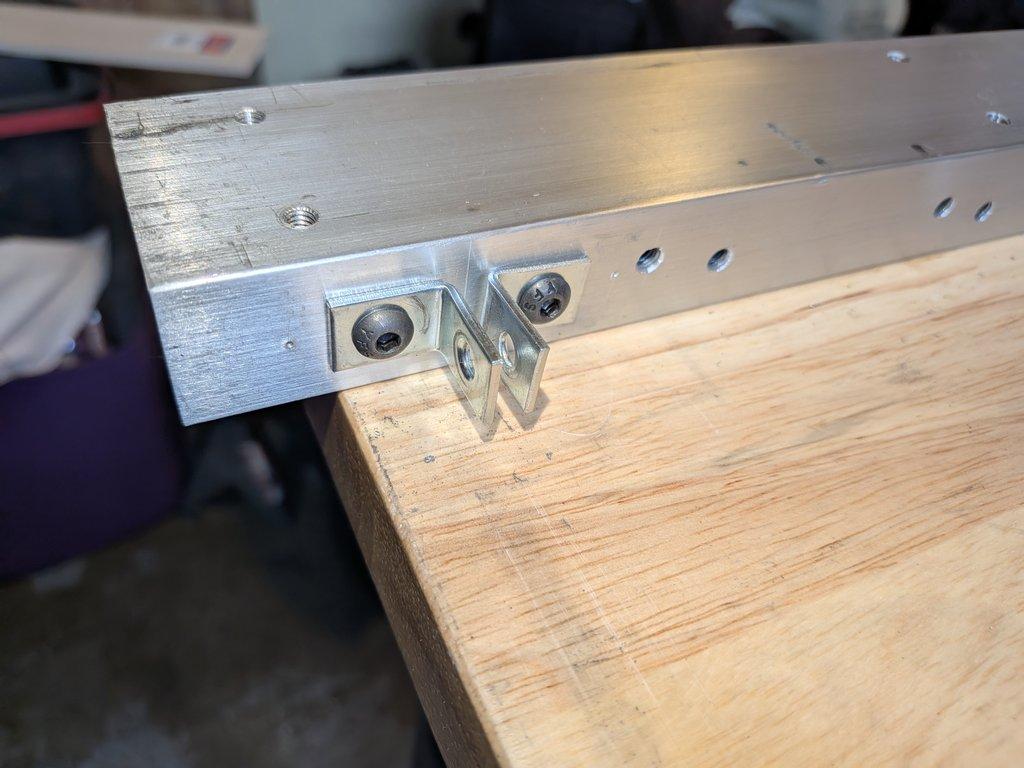
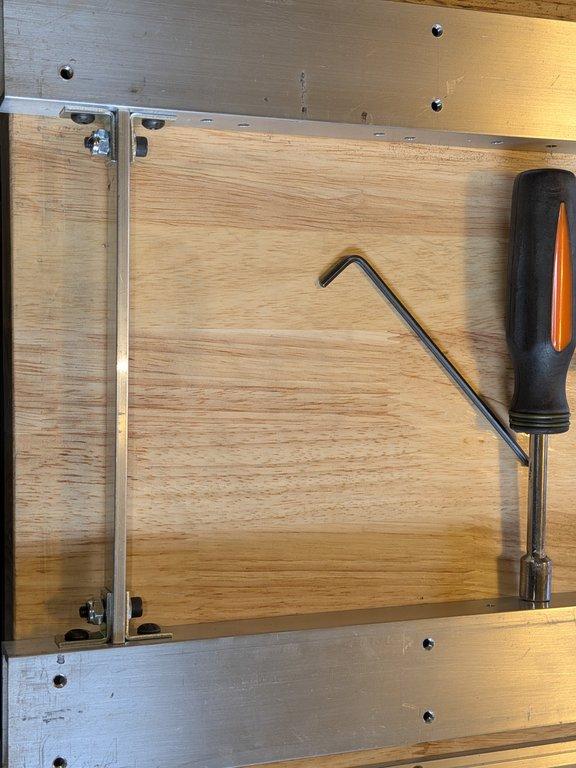
This set of images shows how the cross brace bars are connected to the main rail support tubes using simple angle brackets.
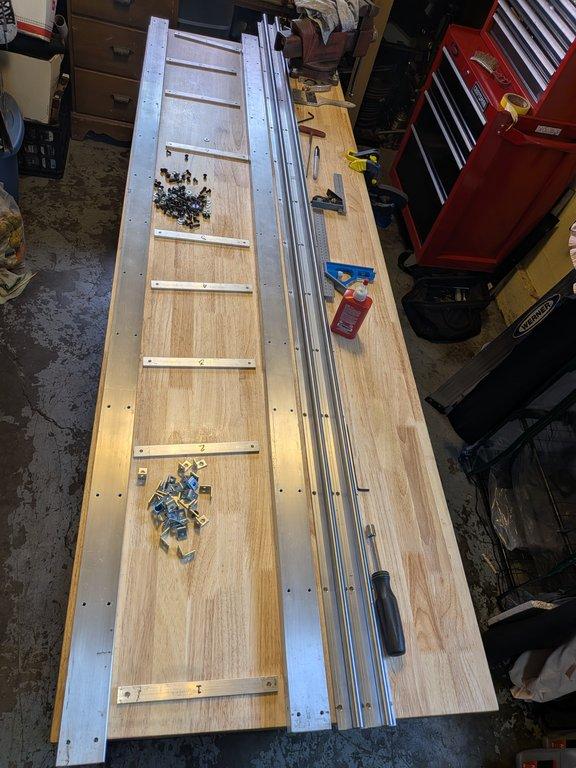
At first glance, it’s a straightforward connection, but this step is doing something much more important:
It is defining the distance and alignment between the rails.
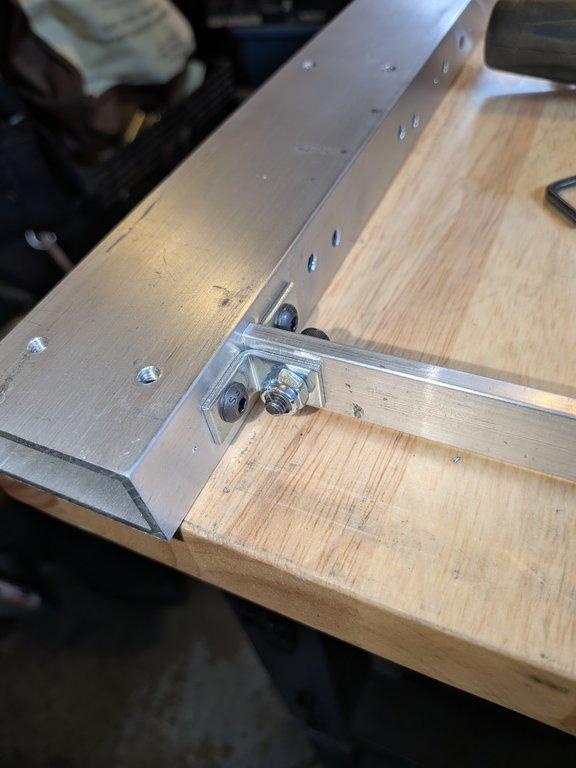
Each cross brace was installed using through holes, but getting everything to fit correctly required small adjustments. The holes in the cross bars were carefully opened up and tuned to allow for slight positional changes.
With the linear rails in place and the thicker aluminum plate (the carriage) resting on the bearings, I was able to check for tight spots at each cross brace location.
The process became:
install a cross brace
place the rails and carriage
check for binding or resistance
remove and adjust
repeat
This kind of iterative fitting is slow, but necessary. Small misalignments at each brace add up across the length of the track.
Doing this by hand makes it difficult to get each cross brace exactly the same, but the goal here is not perfect uniformity—it’s functional alignment across the system.
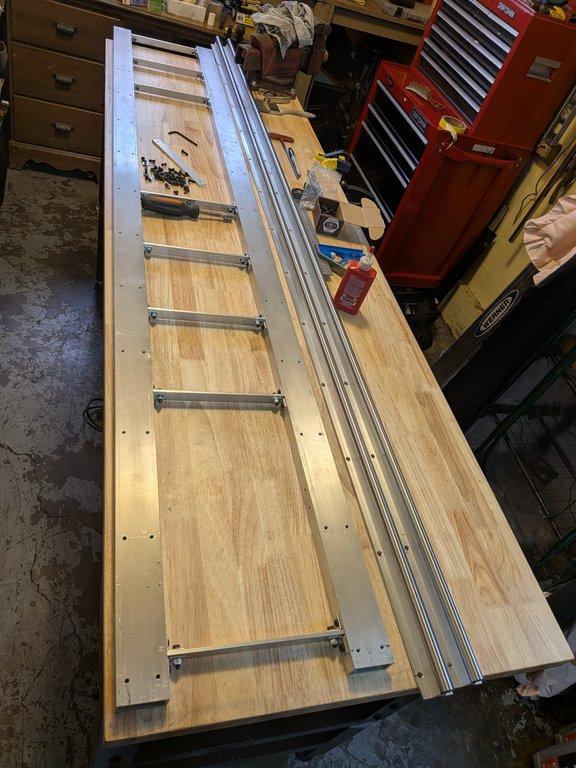
This is where the build starts to demand more attention to tolerance and consistency. The rails don’t just need to be parallel—they need to behave as a system.
— Christopher
LIMNMEDIA
Christopher Weinberg
Christopher Weinberg is the founder of LIMNMEDIA, where he develops motion control systems, production workflows, and educational tools focused on stop-motion and hybrid filmmaking. With over 15 years of experience in production, his work centers on making complex techniques more accessible through practical engineering and open development. He is currently building LIMNMOCO, a modular motion control system designed for flexible, real-world use.
No comments yet. Login to start a new discussion Start a new discussion