LIMNMEDIA - Boom End Hinge Fabrication
This stage focuses on building the hinge at the end of the boom arm—the point that will support the pan/tilt/roll head, or more simply, the camera head.
It’s one of the larger fabrication steps so far, and a good example of how far you can go with simple tools and a clear understanding of what matters.
⸻
Process
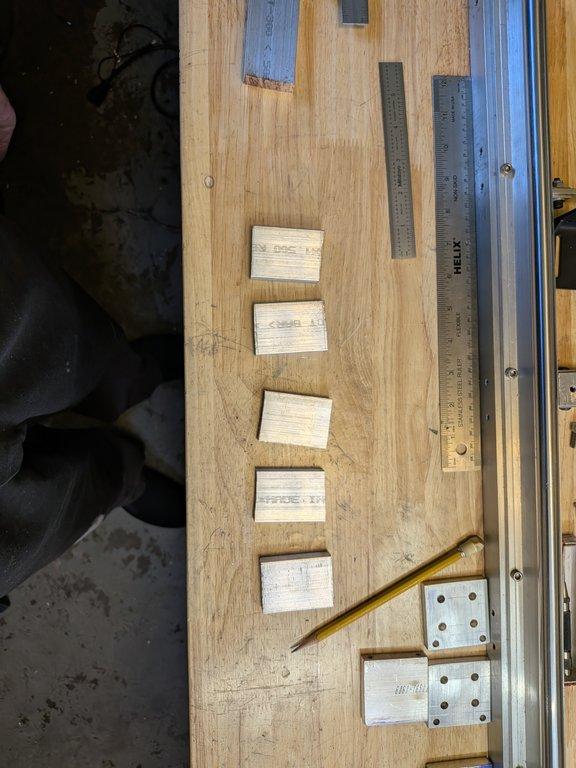
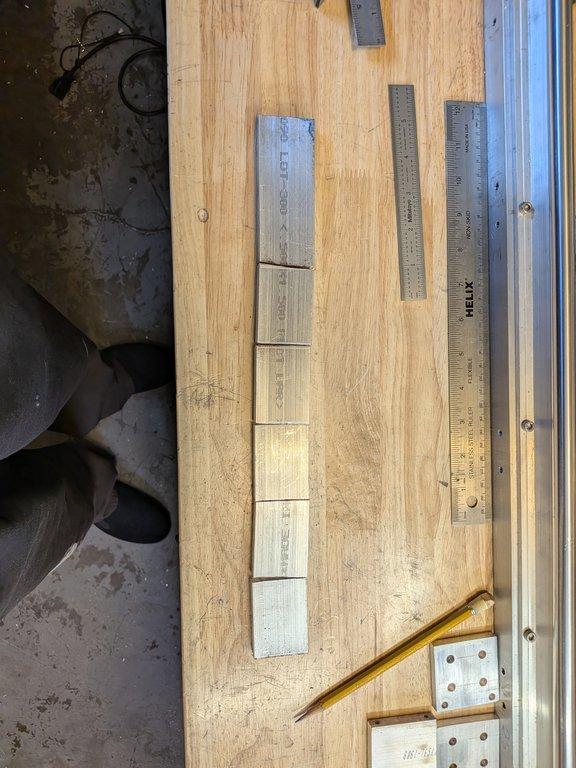
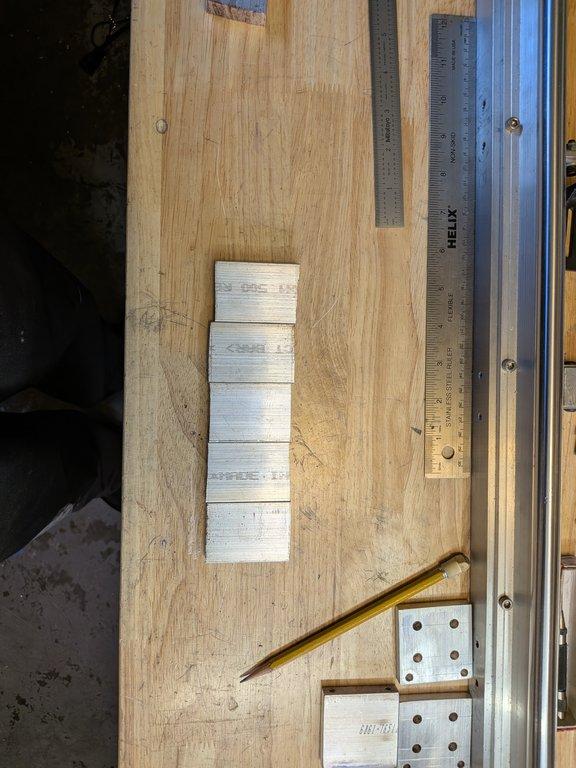
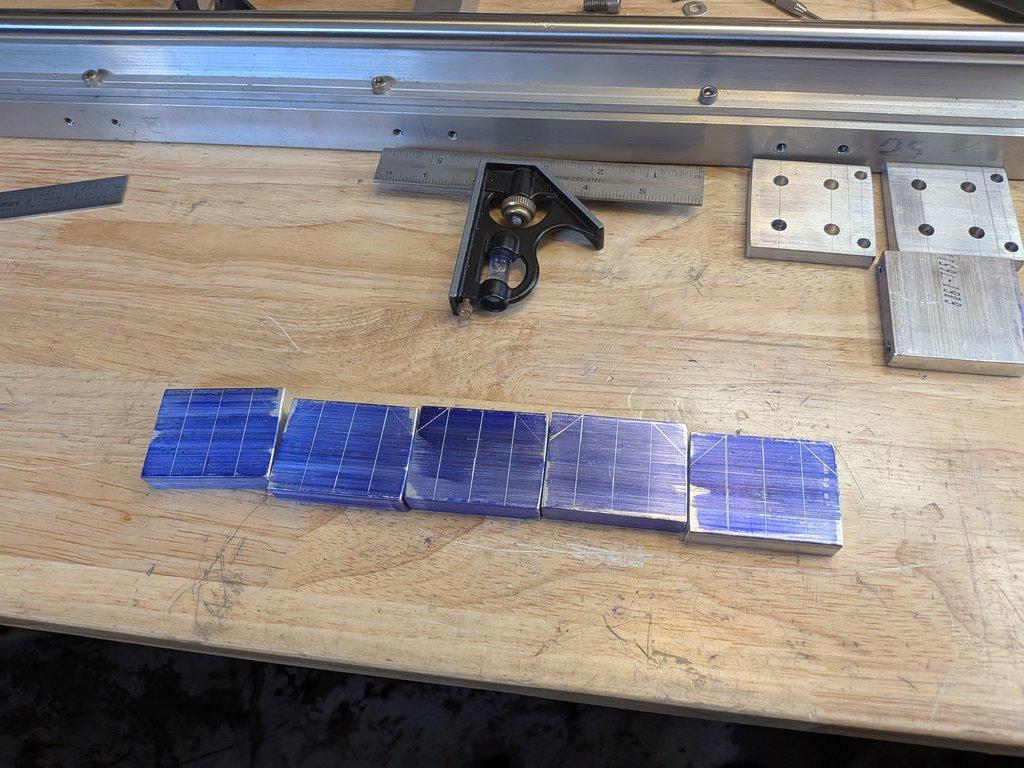
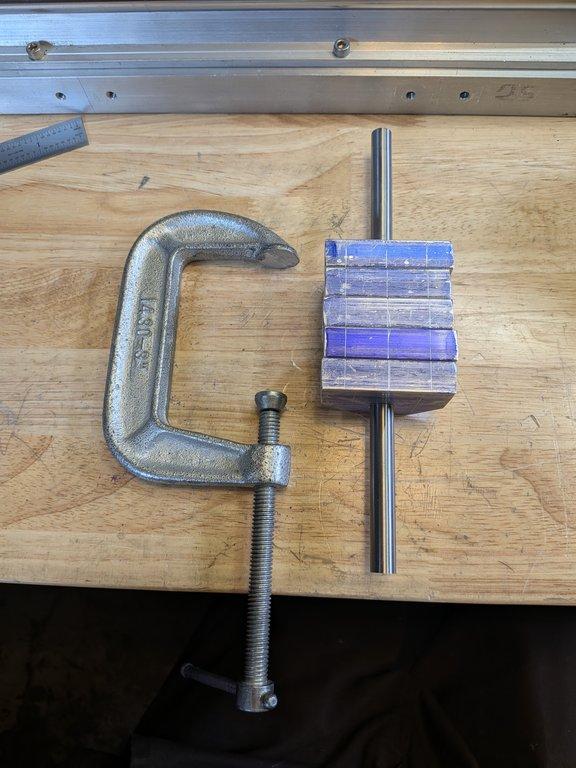
The hinge starts from a 3/8” thick aluminum bar, which is cut into five square pieces. Each piece gets a 10mm hole drilled in the same location relative to one edge. When assembled, three pieces sit on one side and two on the other, interleaving to form the hinge around a single shaft.
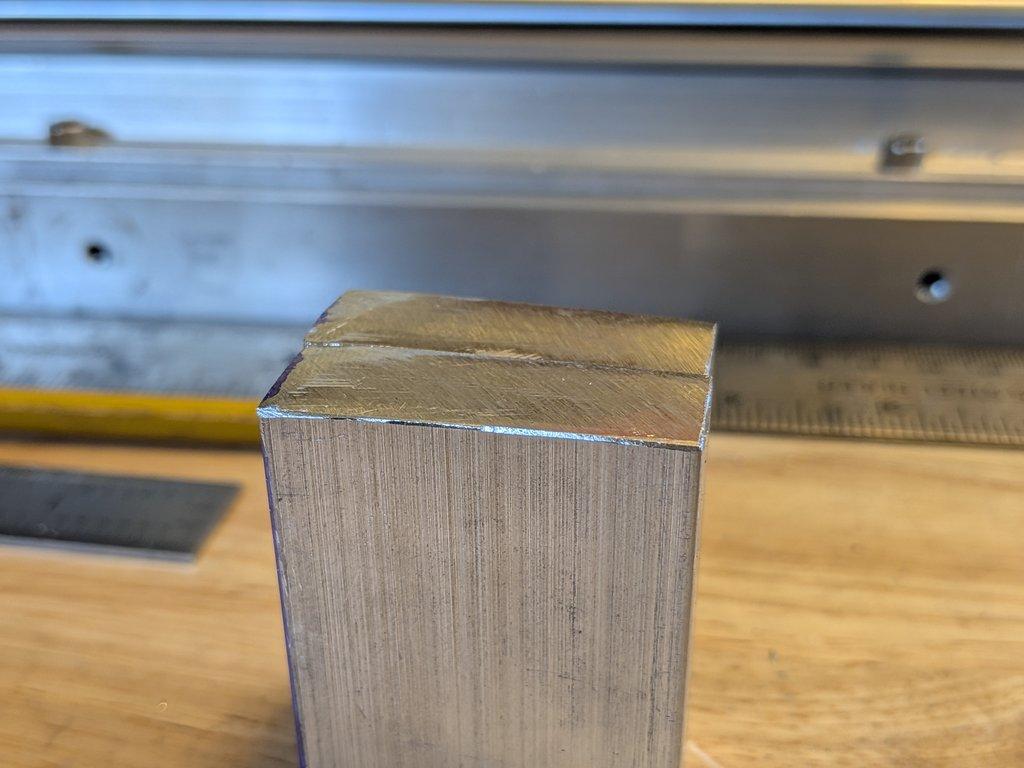
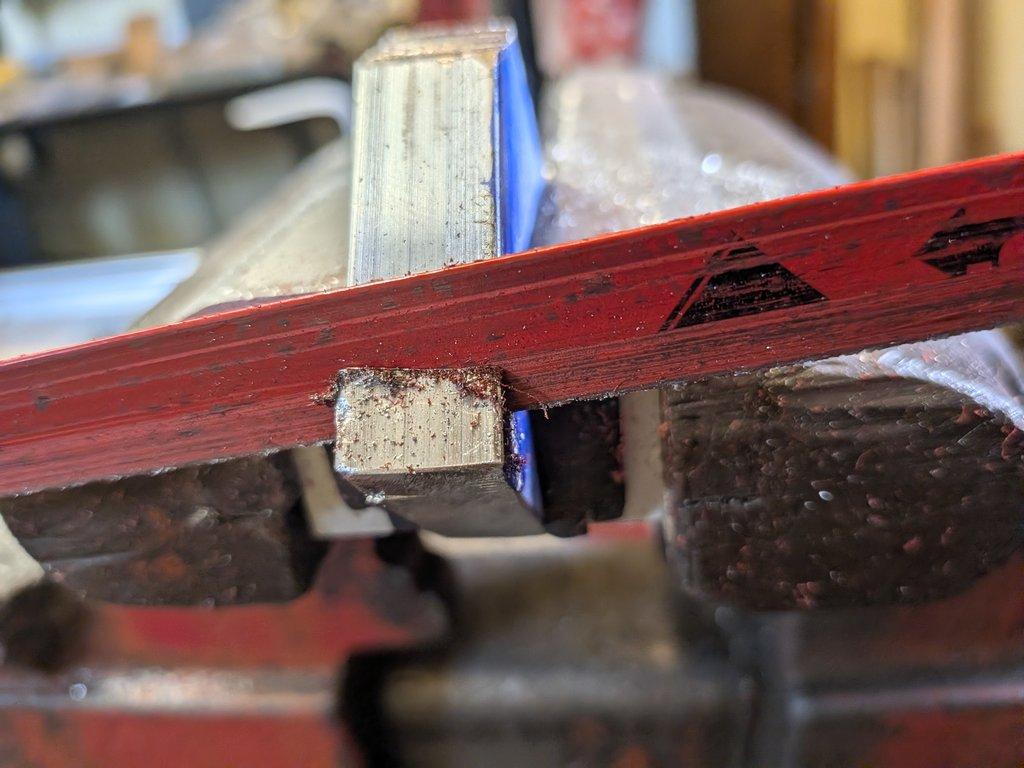
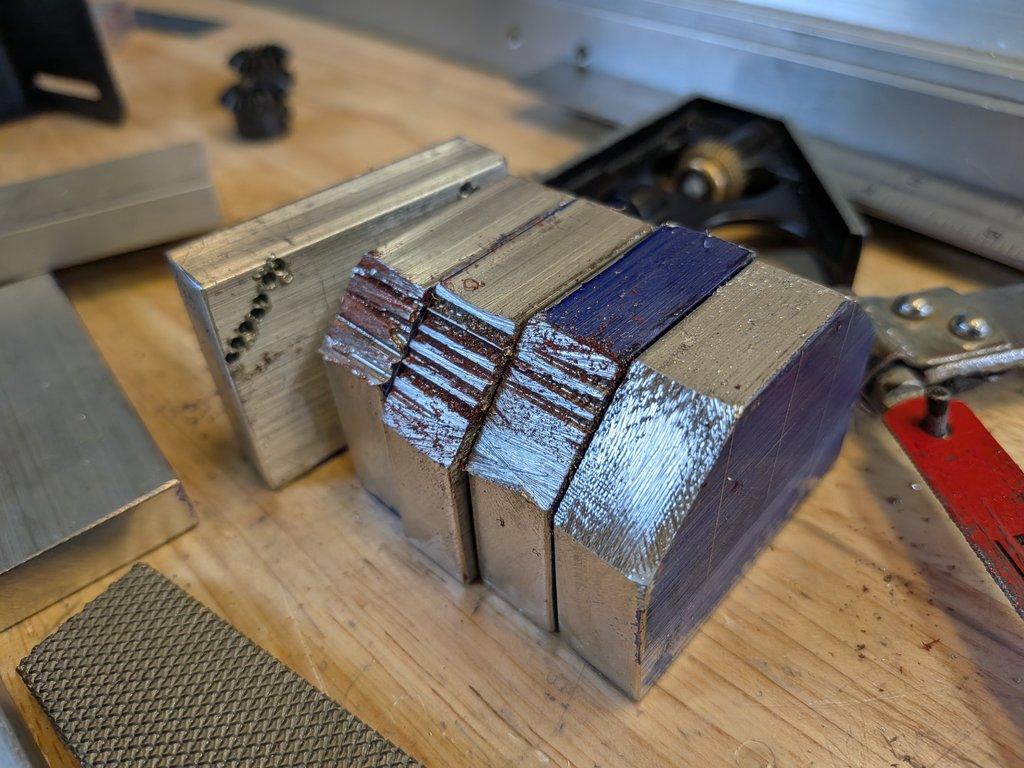
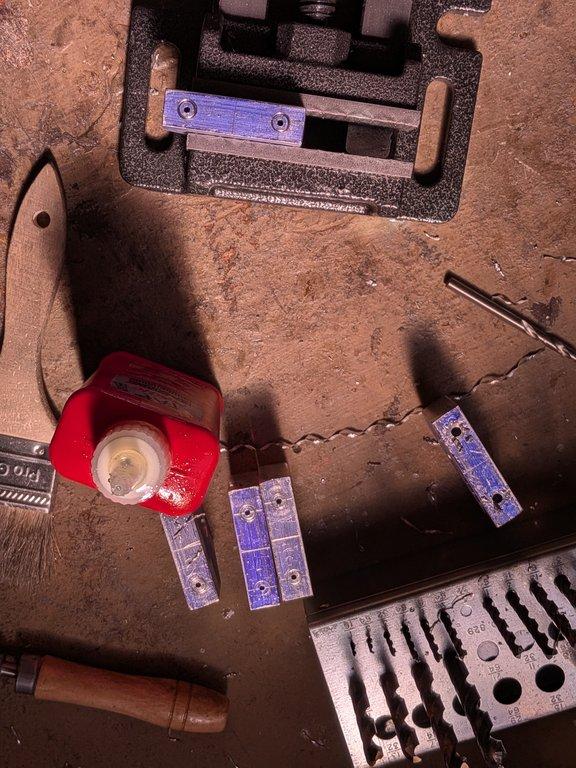
From there, the corners are beveled to allow the hinge to move freely. Because the material is fairly thick, I avoided trying to cut straight through with a hacksaw right away. Instead, I drilled out the rough shape first using the drill press, then finished the cut with the saw and cleaned everything up with a file.


The bevels aren’t perfect—and that’s okay. These aren’t critical surfaces. Their job is just to provide clearance so the hinge can function without interference.
⸻
Notes
This is a good example of focusing effort where it actually counts.
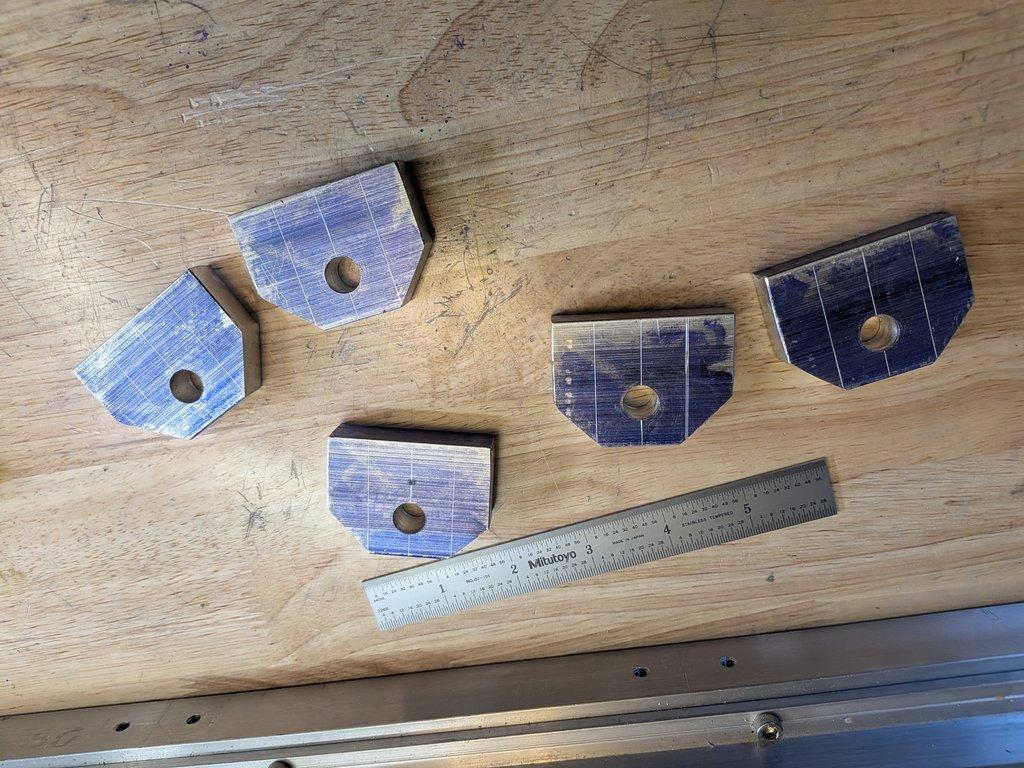
The most important part of this entire step is getting the holes in the right place. Everything depends on those lining up to form a clean pivot axis. The rest—the bevels, the finish—can be a little rough as long as they don’t affect movement.
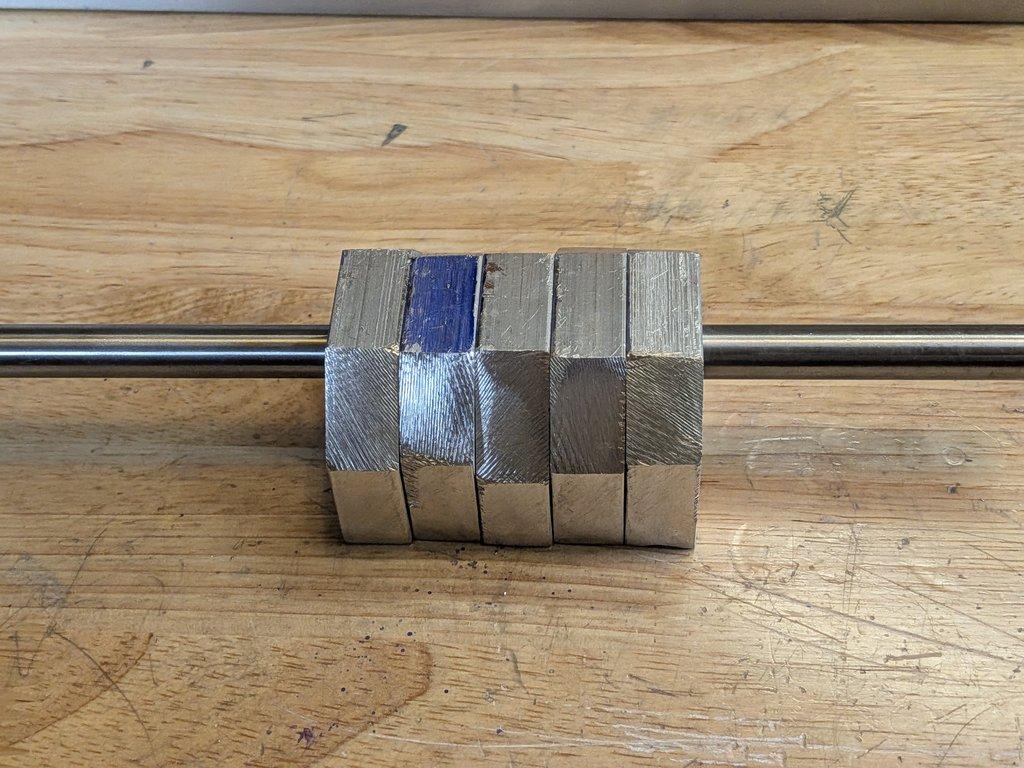
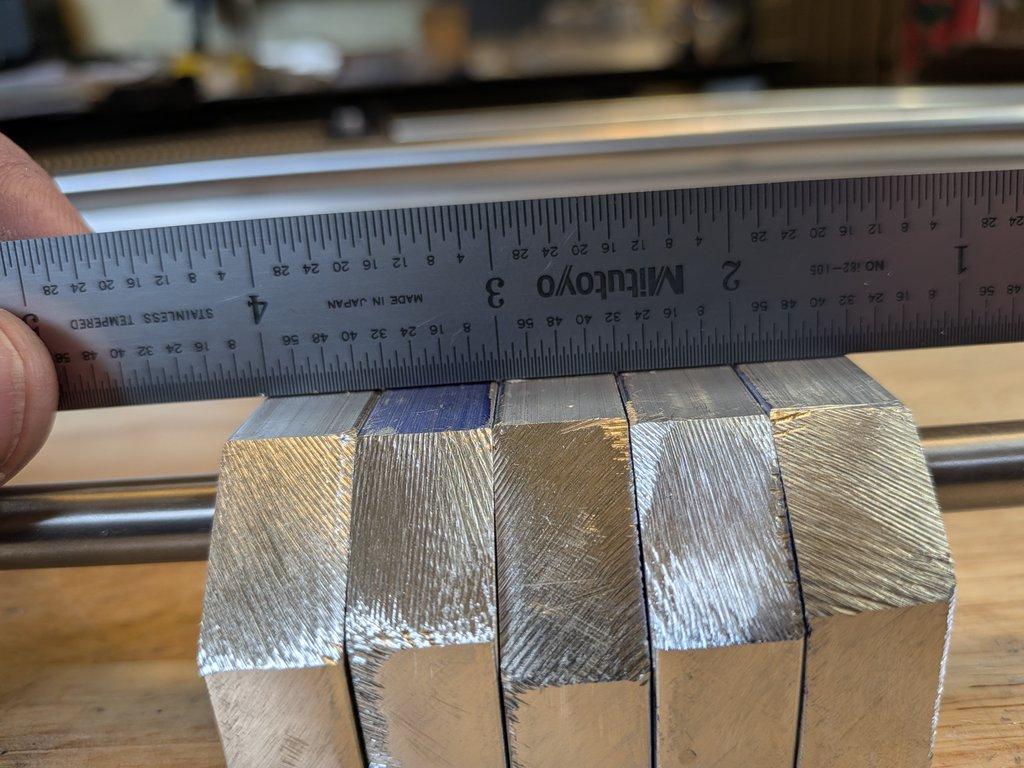
Rather than machining everything precisely, I’m relying on the raw extrusion edges of the material to stay square. When all five pieces are stacked together and the shaft is inserted, they sit flat on the workbench without lifting or rocking. That’s a simple but effective way to confirm that the alignment is working.
There are definitely more precise ways to do this—milling, CNC, tighter tolerances—but that’s not the goal here. The goal is to show that this kind of mechanism can be built using basic tools and accessible methods.
⸻
LIMNMOCO Context
This hinge becomes the final connection point at the end of the boom. It supports the camera head and introduces another axis of motion into the system.
At this point, the crane is no longer just moving structure—it’s starting to define how the camera itself will move.
⸻
LIMNMOCO Context
This hinge becomes the final connection point at the end of the boom. It supports the camera head and introduces another axis of motion into the system.
At this point, the crane is no longer just moving structure—it’s starting to define how the camera itself will move.
⸻
Why This Matters
Not every surface needs to be perfect.
Understanding where precision matters—and where it doesn’t—is a big part of making something like this efficiently. In this case, the accuracy lives in the hole placement. Everything else just needs to support that.
It’s also a reminder that good results don’t always require complex tools. With careful layout and a bit of patience, simple methods can get you surprisingly far.
Christopher Weinberg
Christopher Weinberg is the founder of LIMNMEDIA, where he develops motion control systems, production workflows, and educational tools focused on stop-motion and hybrid filmmaking. With over 15 years of experience in production, his work centers on making complex techniques more accessible through practical engineering and open development. He is currently building LIMNMOCO, a modular motion control system designed for flexible, real-world use.
No comments yet. Login to start a new discussion Start a new discussion